I do think that I could have done bit better by adding a background of some sort. But the fact of the matter is that it wasn't necessary since my idea of adding excessive darkness to enhance a mystique mood for the entire film. but overall I am quite please with the way it turned out to be. It is a simple idea but it captures the tension quite well as we move-along the story. I think if I were to do bit more work on it would have been good for a TV advert or a music video of some sort.
also i want to thank my team member Lloyd and my friend Kerlin for help me to shoot this film. it was a exciting and a challenging ride but now i am glad that every thing is done and over with.
Monday, 28 March 2011
final product
This is my finished piece, my main aspects of work on this video is editing, color-correcting and applying appropriate effects. One of the biggest challenge for me was how can I convey to the viewer that the shots that we took were indeed
one continuous narrative. So to makes sure it was one continuous shot, we took several shots of the same scene to maximize our opportunity of getting a perfect shot from each scene. I also think that building up the tension with the right choice of music and the way in which the clips been edietd creates very gritty and dark atmosphere which suite the theme of the narrative.http://www.youtube.com/user/1988zink?feature=mhum This is my youtube channel link which I posted my final movie, pleases do watch in HD for higher quality.
test films
This was one of my first test videos. As you can see I have color-corrected the video, got rid-off the green screen, added a muzzle flash in to the gun barrel - I know is a bit off, but remember this is a test video. But what I was most impress with, was the out-look of the whole video. My aim was to create my self appear from the dark, and the use of light and dark contrast resembles the chiaroscuro technique quite well. Also it adds more character in to the scene in a way it look more mystique and gritty. Unfortunately I did not use this shot for my final piece simply because the lighting of the character is positioned the wrong side of the character. In fact it should have come from behind the character rather than the front, there is good reason for this. If go back to my storyboards, I have set my lighting for the each scene behind the character so that all of my scenes will have very consistent and precise lighting for my character so that there want be any confusion for the viewer. Also there is a another technical issue which I came a cross creating this particular scene. And that is to reveal my secrets on how to create a muzzle-flash. Well to begin with you got to remember that many of the pistols want fire out muzzle-flash, only some rifles do, But I wanted to create something different from a typical muzzle-flash. But if I were to create a typical muzzle-flash I cloud have easily created one on Photoshop and timed it and added that effect on the right timing when the gun ignites, using After-Effect. However I wanted to create something much slower and more in substance. So I thought of creating a thick smoke shooting out from the barrel and carries on in slow-motion on mid-air. Well the question was how could I create a thick smoke.....?
Well the answer to that question is "ink-drop". Let me explain the procedure for this, you first need a 2Liter water bottle, cut the top off and fill it with water and drop some white ink using cylinder or a spoon.
Well there you go, you got your thick smoke sorted out for you video to use as a muzzle-flash.
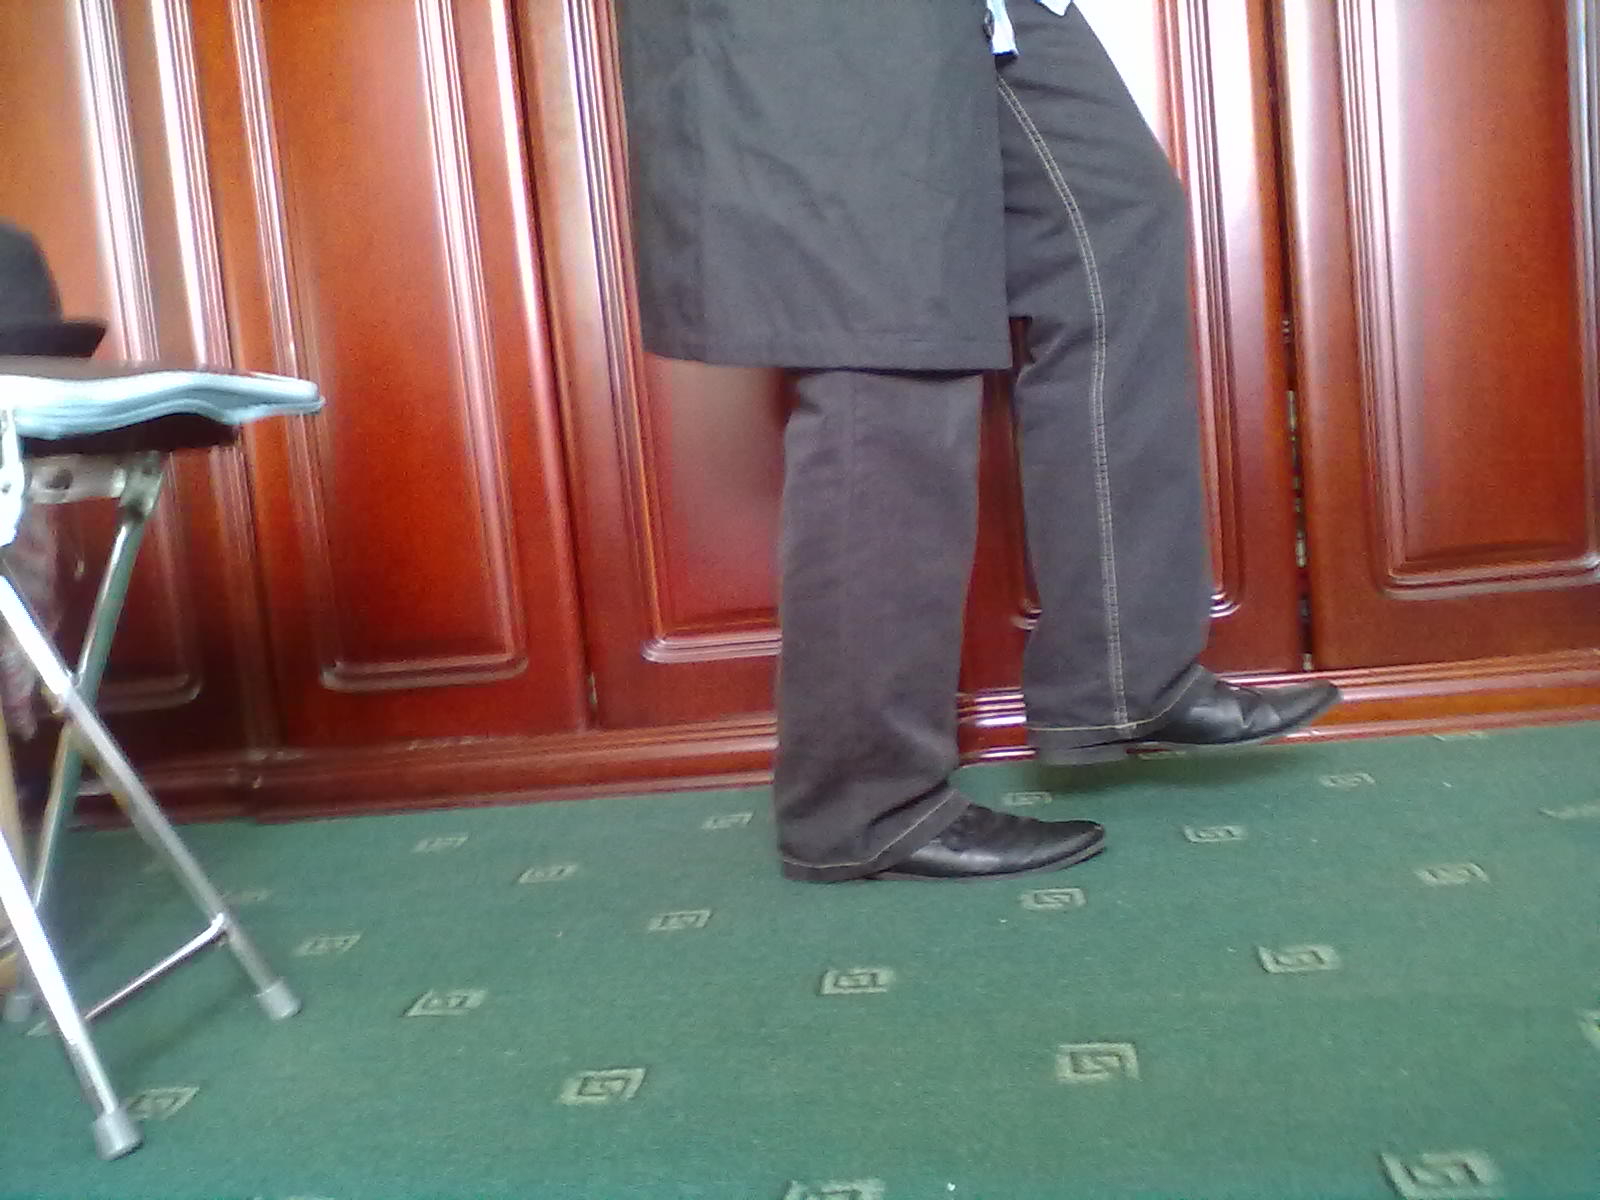
This was another very tricky shot to set up, this is basically (shot 6). Well the difficulty with this shot was to set up the green screen. Somehow we were able to stick the green screen on the ceiling. Then I had to get up on a chair so my friend Kerlin can lay-down comfortably on floor to capture this shot on the camera. Also we used depth of filed for this shot to add little bit of drama. However the most difficult part was the sky replacement. I also used time-relaps effect for the clouds so that syncs with the music.
This is the actual video of the cloud in action. As you can see it barely moves but thanks to Time-remapping tool you can make it faster or slower. Also the clouds were not too visible therefor I use the curve tool to saturate the blue sky a bit so that you can clearly see the clouds.
This is (shot 4) where you can see for the first time the wine-glass is been revealed in the narrative. What makes this shot special is use of depth of field and how it's contribute to the fluency of the the whole story telling.
This was one my earlier experiment shots. as you can see I have try to put a plane image as a background to see how it looks. To be honest is just didn't look good simply because the perspective of the image dose not a-line with the character therefore is not authentic enough to use as a background.
This is my green screen shot of (scene 7).
Well this my comprehensive shot of scene 7. In comparison to the shot above you cloud clearly see a particular difference in the camera movement. Well I used the 3D camera layer to create this. The transition of the whole clip create a very interesting composition between the gun and the wine-glass at the end of the shot.
editing tests.....
This is my first editing of the chosen clips to gather in Final Cut Pro. As you can see is not synced in properly to the music. Also the timing is way off and there no good continuity through out the shots.
Well my second attempt seemed lot more stable in terms of syncing to the music and the continuation of the shot in the narrative are more logical.
inspirational videos and influences.......
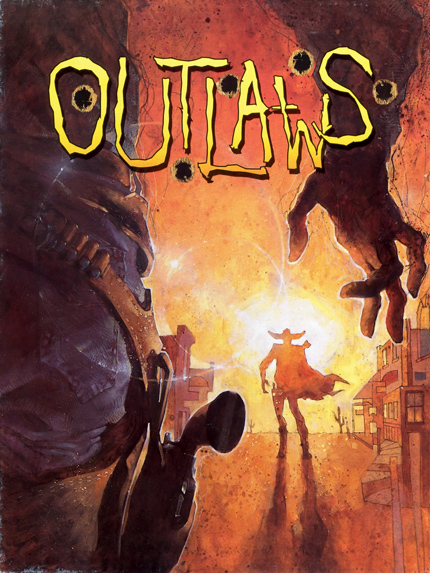
These are some of the videos witch I found on youtube that inspired me to do my final piece. What I liked about this video is right at the beginning you will notice the apartments the houses and the way they been create with cut-out paper shadows were really beautiful. And I thought of creating and entire environment just like that for my project. But unfortunately I couldn't create that simply because is time consuming and getting it right is even more harder and risky. But if i were to have a bigger group this could have been possible.
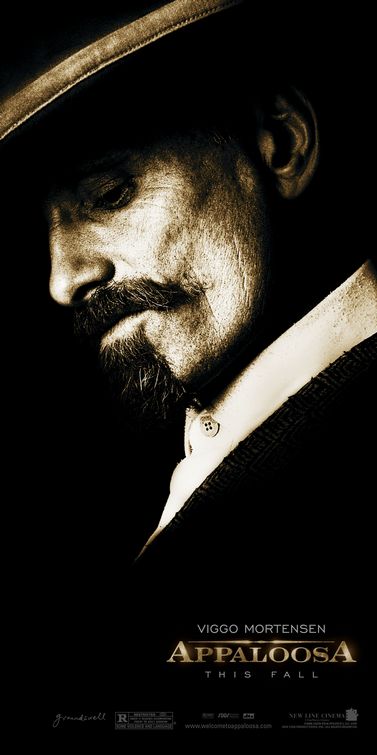
This video quite simply the one that inspired me the most to create my final. The color-correction of the band members struck a cord with the chiaroscuro technique. And the choice of vivid background colors pushed me to decide that I should use something similar for mine.
Well this was simply speechless, I found this video toward the end of the unit. But if I were to find this early on the unit things would have been bit different for me but still I am glad I found it.
These two videos above been directed by French director called Pierre Michel. When I saw his work for the first time I was mesmerized by it. Also notice the strong use of chiaroscuro technique and is been very well edited and choreographed to the music. Also I have to admit that his works definitely did inspire me.
choice of soundtrack for the film........
This was my first choice of score, but the lyrics on the song did not match the vibe, so I had to find something more appealing.
I think the chose of an appropriate track was very impotent because it helps your animation or the film you work in make vibrant and more appealing to create a certain mood. I finally found what I was searching for, again is the same artist (Gill Scott Heron) also know as the "godfather of modern day rap culture". This song is called 'Me and the Devil'. Well what can i say it was perfect match.
Sunday, 27 March 2011
research
This section is divided in to 2 parts - (art and film styles/ character research and development)....
art and film styles
Well in this section we going to take a look at some of the Renaissance masters of chiaroscuro technique and how this style of painting increase the dramatic tension within is image and how it contribute to the overall theme of the painting. And also will be looking at film-noir technique from the 40s.... plus the influences of these techniques and styles in the modern-day films and game industry in commercial and music videos and so on.
Caravaggio


Rembrandt


Joseph Wright of Derby


Film-noir


Modern-day games / films and adverts...


games....


adverts....


character research and development


Subscribe to:
Comments (Atom)